now for the 2nd step 1:
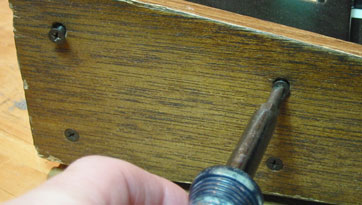
remove arp speed knob. pull straight up.
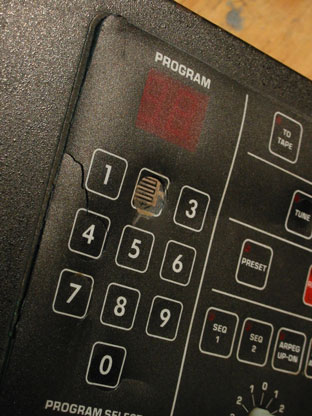
damage!
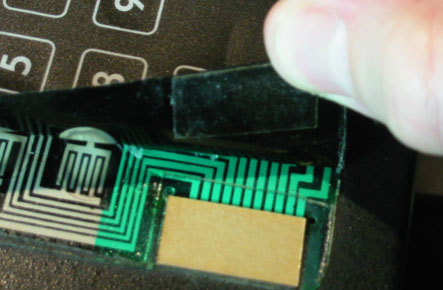
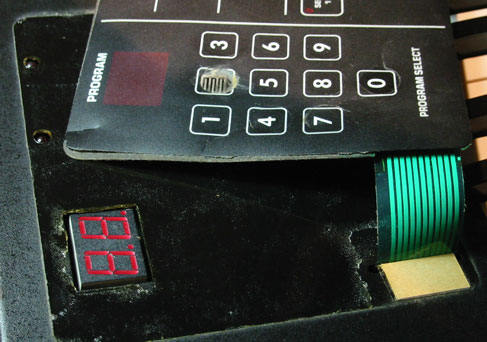
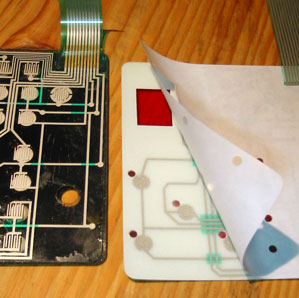
see how my old keypad is busted? especially when i peel it up like that.
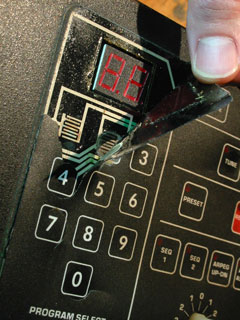
you don't have to do this, i'm just peeling it back to show where the ribbon cable goes through the face of the panel. the little tan area is an "adhesive-free zone"
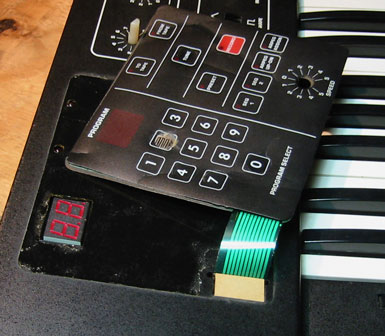
behold. the layers
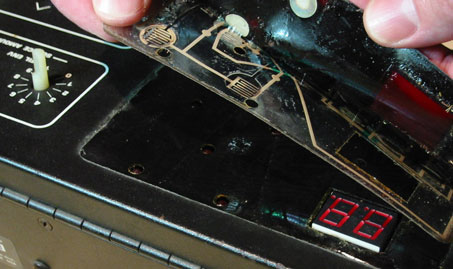
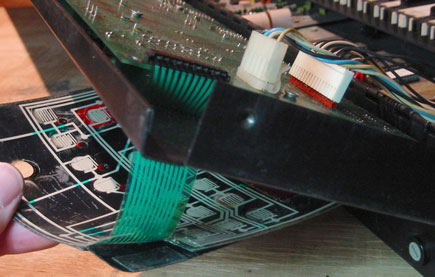
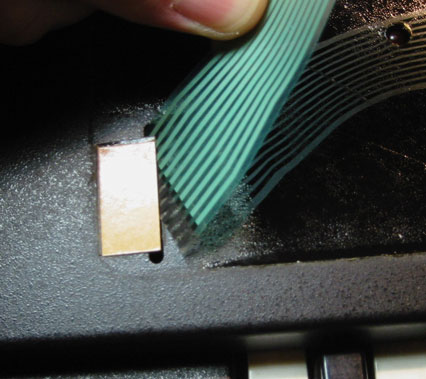
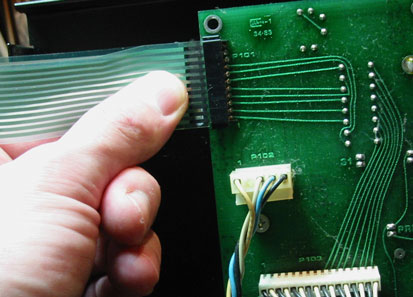
carefully lift the lid, let it come to rest all the way open. it should hang there without a problem (or you can prop it up a little with something that won't scratch), and here's what you're looking for; where the ribbon meets the circuit board
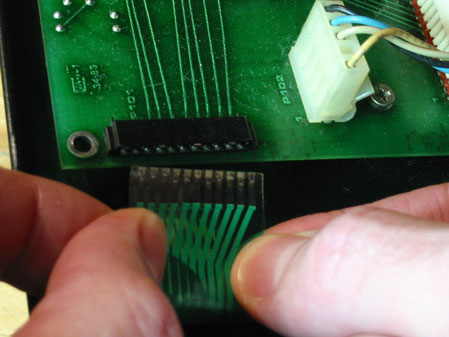
remove the ribbon cable. gently but firmly, might have to rock it back and forth a little.
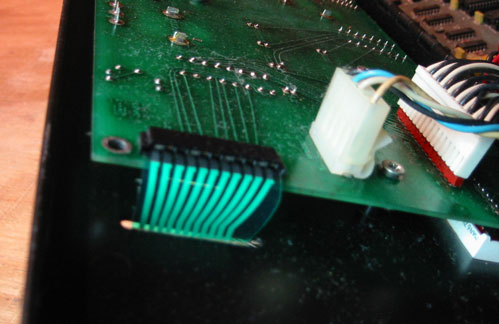
there's the ribbon cable descending into the face of the synth
and again from a little farther back
now you can see both sides
it sees us
you can clean the old adhesive off with isopropyl (rubbing) alcohol.
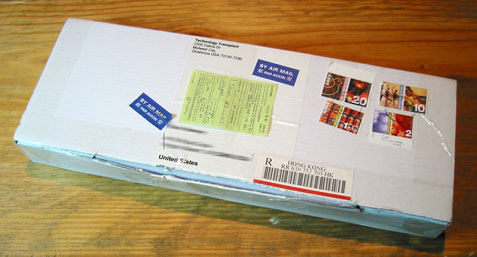
the neat shipping box, from Hong Kong
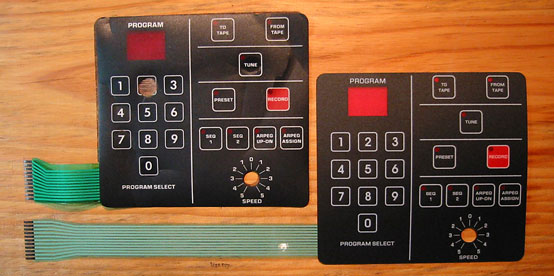
old keypad on the left, short ribbon cable
new keypad on the right, much longer ribbon cable. (that little white spot on the cable is a reflection, not a defect)
see steps 17 and 18 below to see how i dealt with the extra length
just for illustration
don't remove the backing yet
insert the new ribbon down the slot
gently but firmly, once again, this may require using both hands to grasp either side of the ribbon to work it in completely (similar to removal - see step 7)
the ribbon cable is rather long. so long that it kinda sticks out. so i thought it might be best to tidy it up, lest it get squashed somehow when the control panel is rotated back into place. there are surely other methods of securing it, this is just the one i came up with at the moment.
that's a wire twist-tie, as you might find on a loaf of bread or a garbage bag. roughly rectangular shaped.
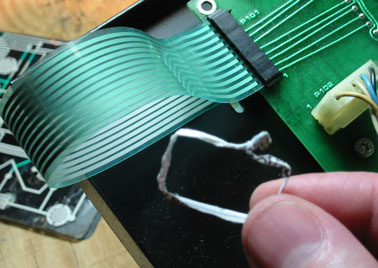
folded the ribbon gently into this sandwich of curves. slide the twist-tie over it (may take some trial and error to get the size of the rectangle right)
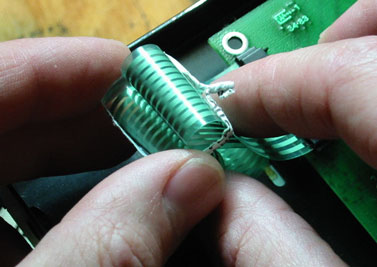
secured. relatively speaking.
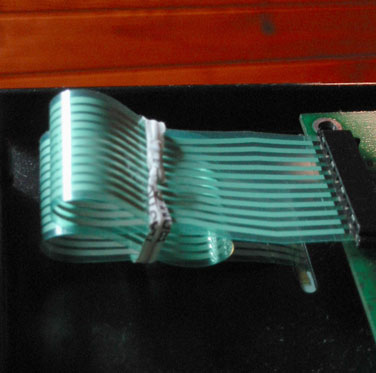
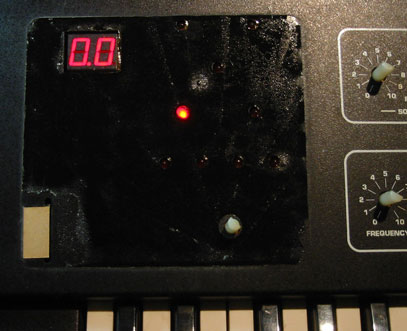
in place.
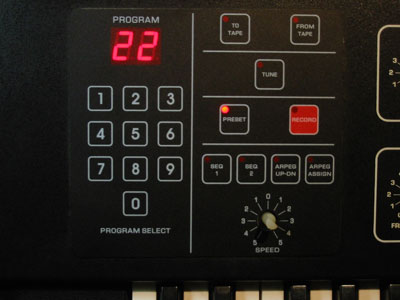
and now i can call up patch 22 whenever i like!
and 20
and 28
and 23
and 2anything
and anything2
an alternate view

now, back in it's home on the rack. new keypad in place, knobs reinstalled.
lovely.